KidsOnlineLessons Team · November 9, 2026
How to Build a First Grade Neighborhood Map With Blocks
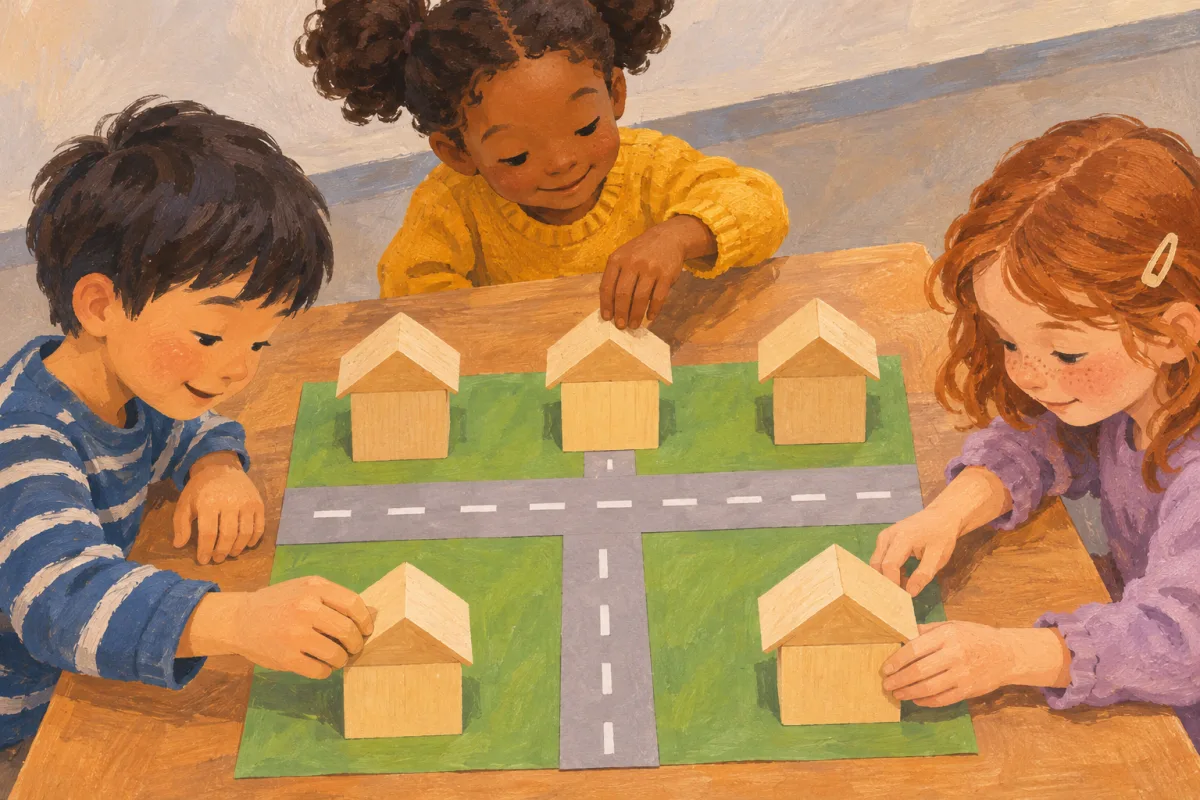
Ask a first grader to draw their route to the park, and they might draw their house from the front and the park from the side. They are drawing the parts that they know best. A block neighborhood lets you show a second point of view. Build a few landmarks at table height, then look down on the model together. Your child can use what they see from above to make a map someone else can follow.
Build a small neighborhood around one road
Lay a strip of paper across a table to make a road. Set a block house near one end. Use another block for a library, or pick a different landmark your child knows well. Leave some open space for a park and add a short paper path connecting the park to the road. Invite your child to decide where one of the places belongs.
Walk a toy person from the house to the park. Ask your child to describe what the person passes and where they turn. If the directions are hard to follow, let the toy stop at the confusing spot. Give your child time to add a landmark to their description. “Turn where the path meets the road” gives the traveler a place to look for.
Turn the tabletop model into a map from above
Stand where you can safely look down at the model. Notice which parts of the blocks you can see. Draw the road first on a blank page, then ask your child to add a simple shape where the house sits. Have them add the library and park in the same order as the model. The shapes can be plain outlines. Their position on the page is what helps the traveler.
If your child draws a place on the wrong side of the road, hold the paper next to the model with both roads facing the same direction. Point to the house and ask which side it is on. Then ask your child to show where it should go on paper. Let them move the drawing and check again.
See if another person can follow the map
- Give someone a destination. Ask a family member or classmate to move the toy from the library to the park using only the map.
- Mark a useful detail. If the traveler gets lost, add the short path or another landmark that will help at that spot.
- Draw a second route. Add a walkway that reaches the park from a different side. Ask which route passes the library and which goes straight there.
Explain that the sketch is a simplified representation and may not be to scale. A long line on the page does not automatically establish an exact real-world distance. Keep the first goal focused on landmark relationships and a route that another person can interpret.
Your child can keep the model beside the drawing and compare them after each change. For more ways to explore location and routes with a first grader, sign up for a guided first grade learning path with KidsOnlineLessons.